Lime repairs, one wall
Lime Render Repairs Sheffield: Patching Old Stone Walls
Lime render is the soft, open coating traditionally used on solid stone and brick walls. Most lime work on a single wall is repair: a blown area on an old cottage gable, a failed cement patch in an otherwise lime-rendered wall, or the face of a rendered garden wall. Done well, the repair matches the old coat in material as well as looks, and lets the wall carry on drying the way it was built to.

On this page
Why lime walls are repaired in lime
SPAB explains why cement and old solid walls do not mix. A dense cement coat stops the wall drying outwards, and being stiffer than the stone or brick it crazes with fine cracks that admit rain and hold it there. A cement patch in a lime wall does the same over a smaller area, and SPAB observes that cement tends to fail piecemeal and come loose. In Grenoside, the council's management proposals single out concrete render and cement pointing as damaging to the village's stone houses, so in Sheffield's stone villages the material of a repair matters to the planners as well.
So a lime wall is patched in lime, with a mix weaker than the stone or brick behind it.
- Stone or brick masonry Cleaned of loose material and dampened so it does not draw water out too fast.
- First (scratch) coat Often haired; scratched to give the next coat a key.
- Second (floating) coat Applied once the first has firmed up; follows the line of the wall.
- Finish coat Thin final coat, kept damp and shaded while it cures.
- Limewash or mineral paint Optional decoration that keeps the wall permeable.
Wall on the left, finish on the right. Not to scale: coats, thicknesses and primers follow the chosen manufacturer’s system and the condition of the wall.
Finding and cutting out the failed area
The Building Conservation Directory's guidance on lime render repairs describes gently tapping the wall, with a chisel or the back of the hand, to find detached areas, follow their perimeter and tell whether the render has parted between coats or from the masonry. It also says that monitoring can be the first option for a stable hollow area on a historic wall, so not every drummy patch has to come off at once.
When an area does come off, it is cut back to firm render around its edge. Old cement patches are removed with care: SPAB's advice is to try a small area first and to use hammer and chisel rather than levering off sheets, which can tear the face off soft stone or brick. Loose stone is reset and deep voids packed with lime mortar and stone before rendering starts. A wall that is soaked should be allowed to dry first.
Rebuilding the patch in coats
Cornish Lime's guide describes the three-coat sequence a lime repair follows on a small scale. First the stone is wetted with a hand sprayer rather than a hosepipe; Lime Green suggests misting evenly some 30 minutes ahead and stopping short of soaking it. The first coat, roughly 9-12 mm deep, is cast or trowelled on and scratched for key once it has started to stiffen. Typically a week on, the second coat goes on, ruled level with the surrounding old render and roughened using a devil float. The final coat is kept thin, 5-7 mm at most, and worked to the same texture as the wall around it.
Small patches dry fast, which is their main risk. Cornish Lime puts rapid drying at the top of its list of failures; shrinkage cracks show up inside two days, so it advises hanging hessian just off the wall for a fortnight or more. Frost must be kept off, especially in the first 14 days, so lime patching on an exposed Sheffield gable is best done between spring and early autumn.
Tap the wall to find the hollow area and its edges; decide whether to repair or monitor.
Cut out to firm render; remove any cement patches carefully.
Bed loose stones back in and fill deep holes with lime mortar and pieces of stone.
Mist the masonry, apply the bonding coat and key it.
Roughly a week on, add the second coat and score it with a devil float.
Finish with a thin top coat textured like the old wall, then shade it with damp hessian and keep frost off.
Limewash the repair and the wall around it once it has cured.
Matching, finishing and boundary walls
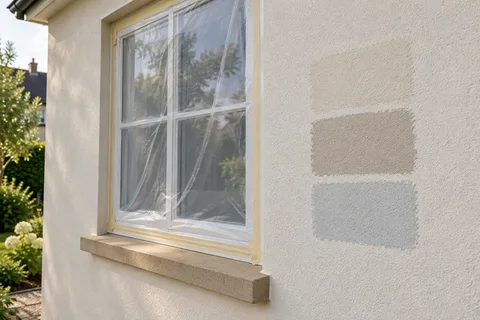
A fresh lime patch is usually paler than the old render around it. Limewash, which SPAB recommends as the normal finish because it stays open to moisture, ties the repair into the wall: coat the whole face or a natural section of it, not just the patch.
Boundary walls in conservation areas carry extra rules. Sheffield City Council notes that demolishing walls in a conservation area may need permission, and in Grenoside it says it will normally resist demolition of, or alterations to, boundary walls and gate piers that contribute to the area. Like-for-like repair is the safe course; anything beyond that should be discussed with the planners first, who in High and Low Bradfield are the National Park authority.
Common questions
Must the whole wall be stripped for a lime repair?
No. Lime render can be patched: the failed area is cut back to firm render and rebuilt in coats, and stable hollow areas may simply be monitored.
Can a cement patch in a lime wall be left?
If it is firmly bonded it may do less harm left than forced off. A loose or cracked cement patch is better replaced in lime.
See housing and planning information for Sheffield and nearby places, including the source and geography behind each figure.